Hey, team, let’s be real… injuries suck. But if you’re an active person and enjoy lifting, running, skiing, and playing sports, dealing with occasional aches and pains is a major reality of your active lifestyle.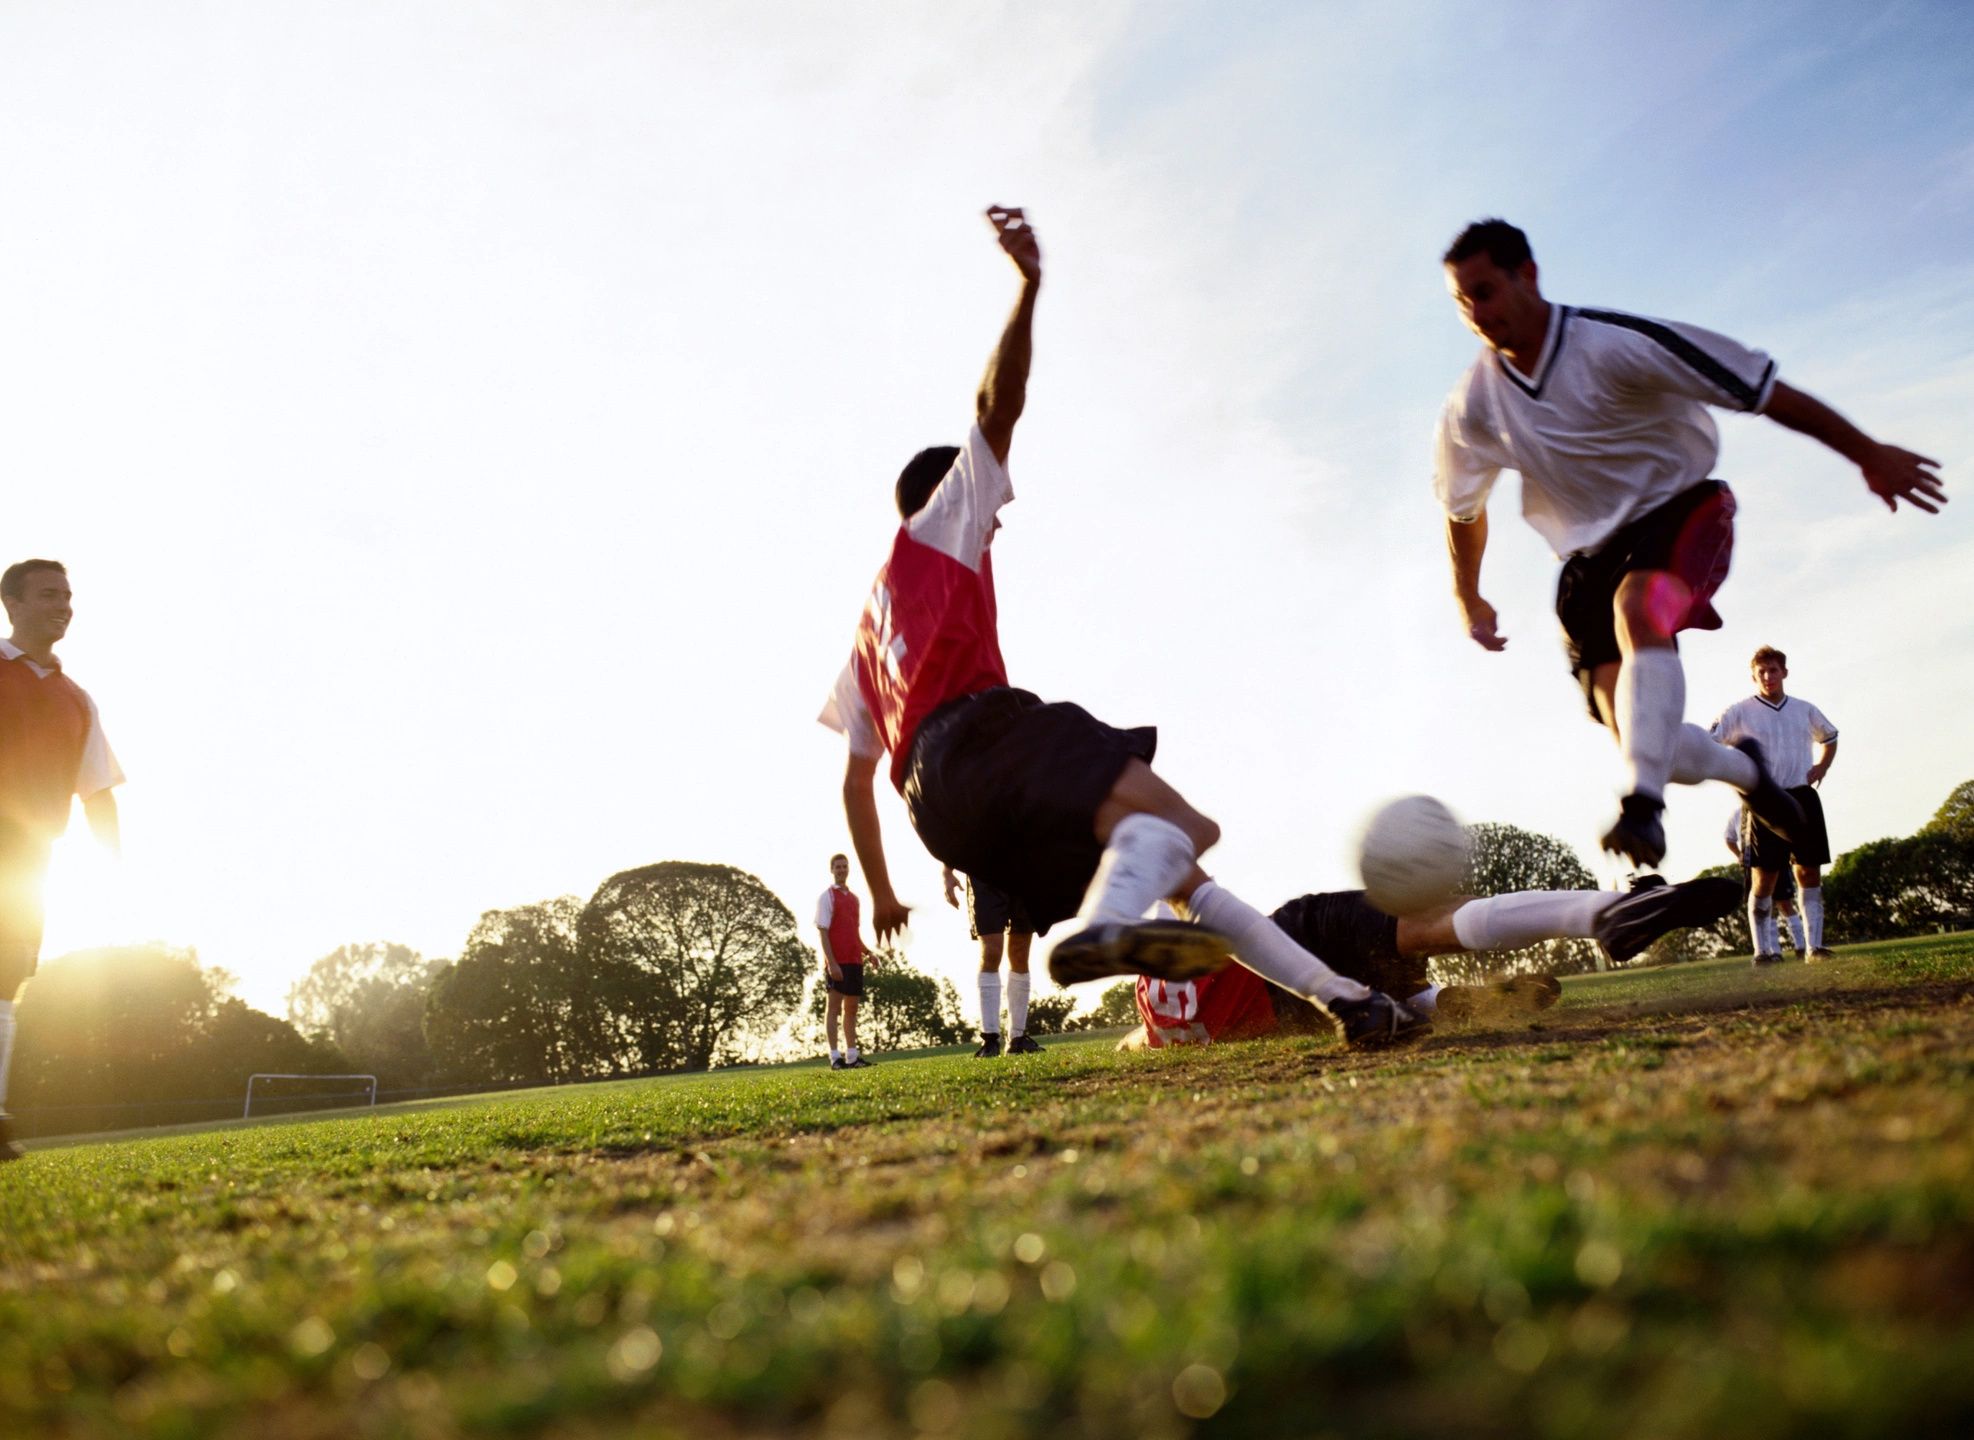
Having been sidelined by accidents and injuries before, I understand the frustration of not being able to do the things you love to do, from playing pick up sports to crushing a day of mountain adventures. In fact, a hip injury that I sustained while (gasp) running too much one summer put me on the disabled list for such a long time, I wondered if I’d ever get back to lifting and high-intensity training. Only after working with brilliant doctors and therapists over the course of several years (and studying for my training certifications) did I start to get out of pain and into the gym again.
I firmly believe your training in the gym should enhance your life outside of it. And that means that what you do in the gym should make you resilient to injury. But you shouldn’t need to waste years of your time and energy figuring out “how” to train following an injury. The aim of this article is to save you the years of frustration I experienced during my hip injury so that you can get back into the gym, train safely, and get back outside as soon as possible.
*Disclaimer: I’m not a doc, nor do I play one on the Interwebz. If you DO injure yourself, please seek an evaluation from a qualified medical professional such as a physical therapist (DPT), certified athletic trainer (AC), or chiropractor (DC). Ask them specifically which movements are safe and which are contraindicated by your specific injury – and heed their advice.
Anatomy of An Injury
Let’s talk briefly about what happens when you get injured. First, there are acute and chronic injuries, and acute and chronic pain. Acute describes an injury that just happened and results in pain that lasts for a moment, for a couple days, or for weeks to months, depending on the severity of the injury. Chronic pain results from a recurring injury or one that is not properly rehabilitated; pain that persists for six months or more is deemed chronic.
This is why it’s important to see a doctor or therapist after sustaining an acute injury – to prevent chronic pain resulting from lack of injury rehabilitation.

In a soft tissue (muscular) injury, your body goes through several phases after the initial injury. In the acute phase, your body’s main focus is protection. This is where pain, swelling, and inflammation are at their worst, as your body works to protect the rest of your tissues and the injured tissue itself. This phase can last for a couple days.
Next comes the “sub-acute” injury phase, where repair happens. Your body will start laying down scar tissue and rebuilding the damaged muscle tissue. This can take up to six weeks post-injury. Between six weeks and three months is termed the “remodeling” phase because your body constantly checks in to make sure the new soft tissue is holding up to your activity levels. Keep in mind that these two phases don’t really have distinct start/end points, but rather exist on a continuum of building, testing, and remodeling. After about three months, though, your soft tissue injury should be healed enough to return to normal activity – that is, if you follow a smart rehab plan that your doctor or therapist can recommend.
Pre-Habilitation for a More Bulletproof You
The first step is avoiding injury in the first place with what health and fitness pros call “pre-hab” drills. These drills actively seek to be PREventative of injury and are most often included as part of a good warm up, or during your days of from lifting as part of an active recovery routine.
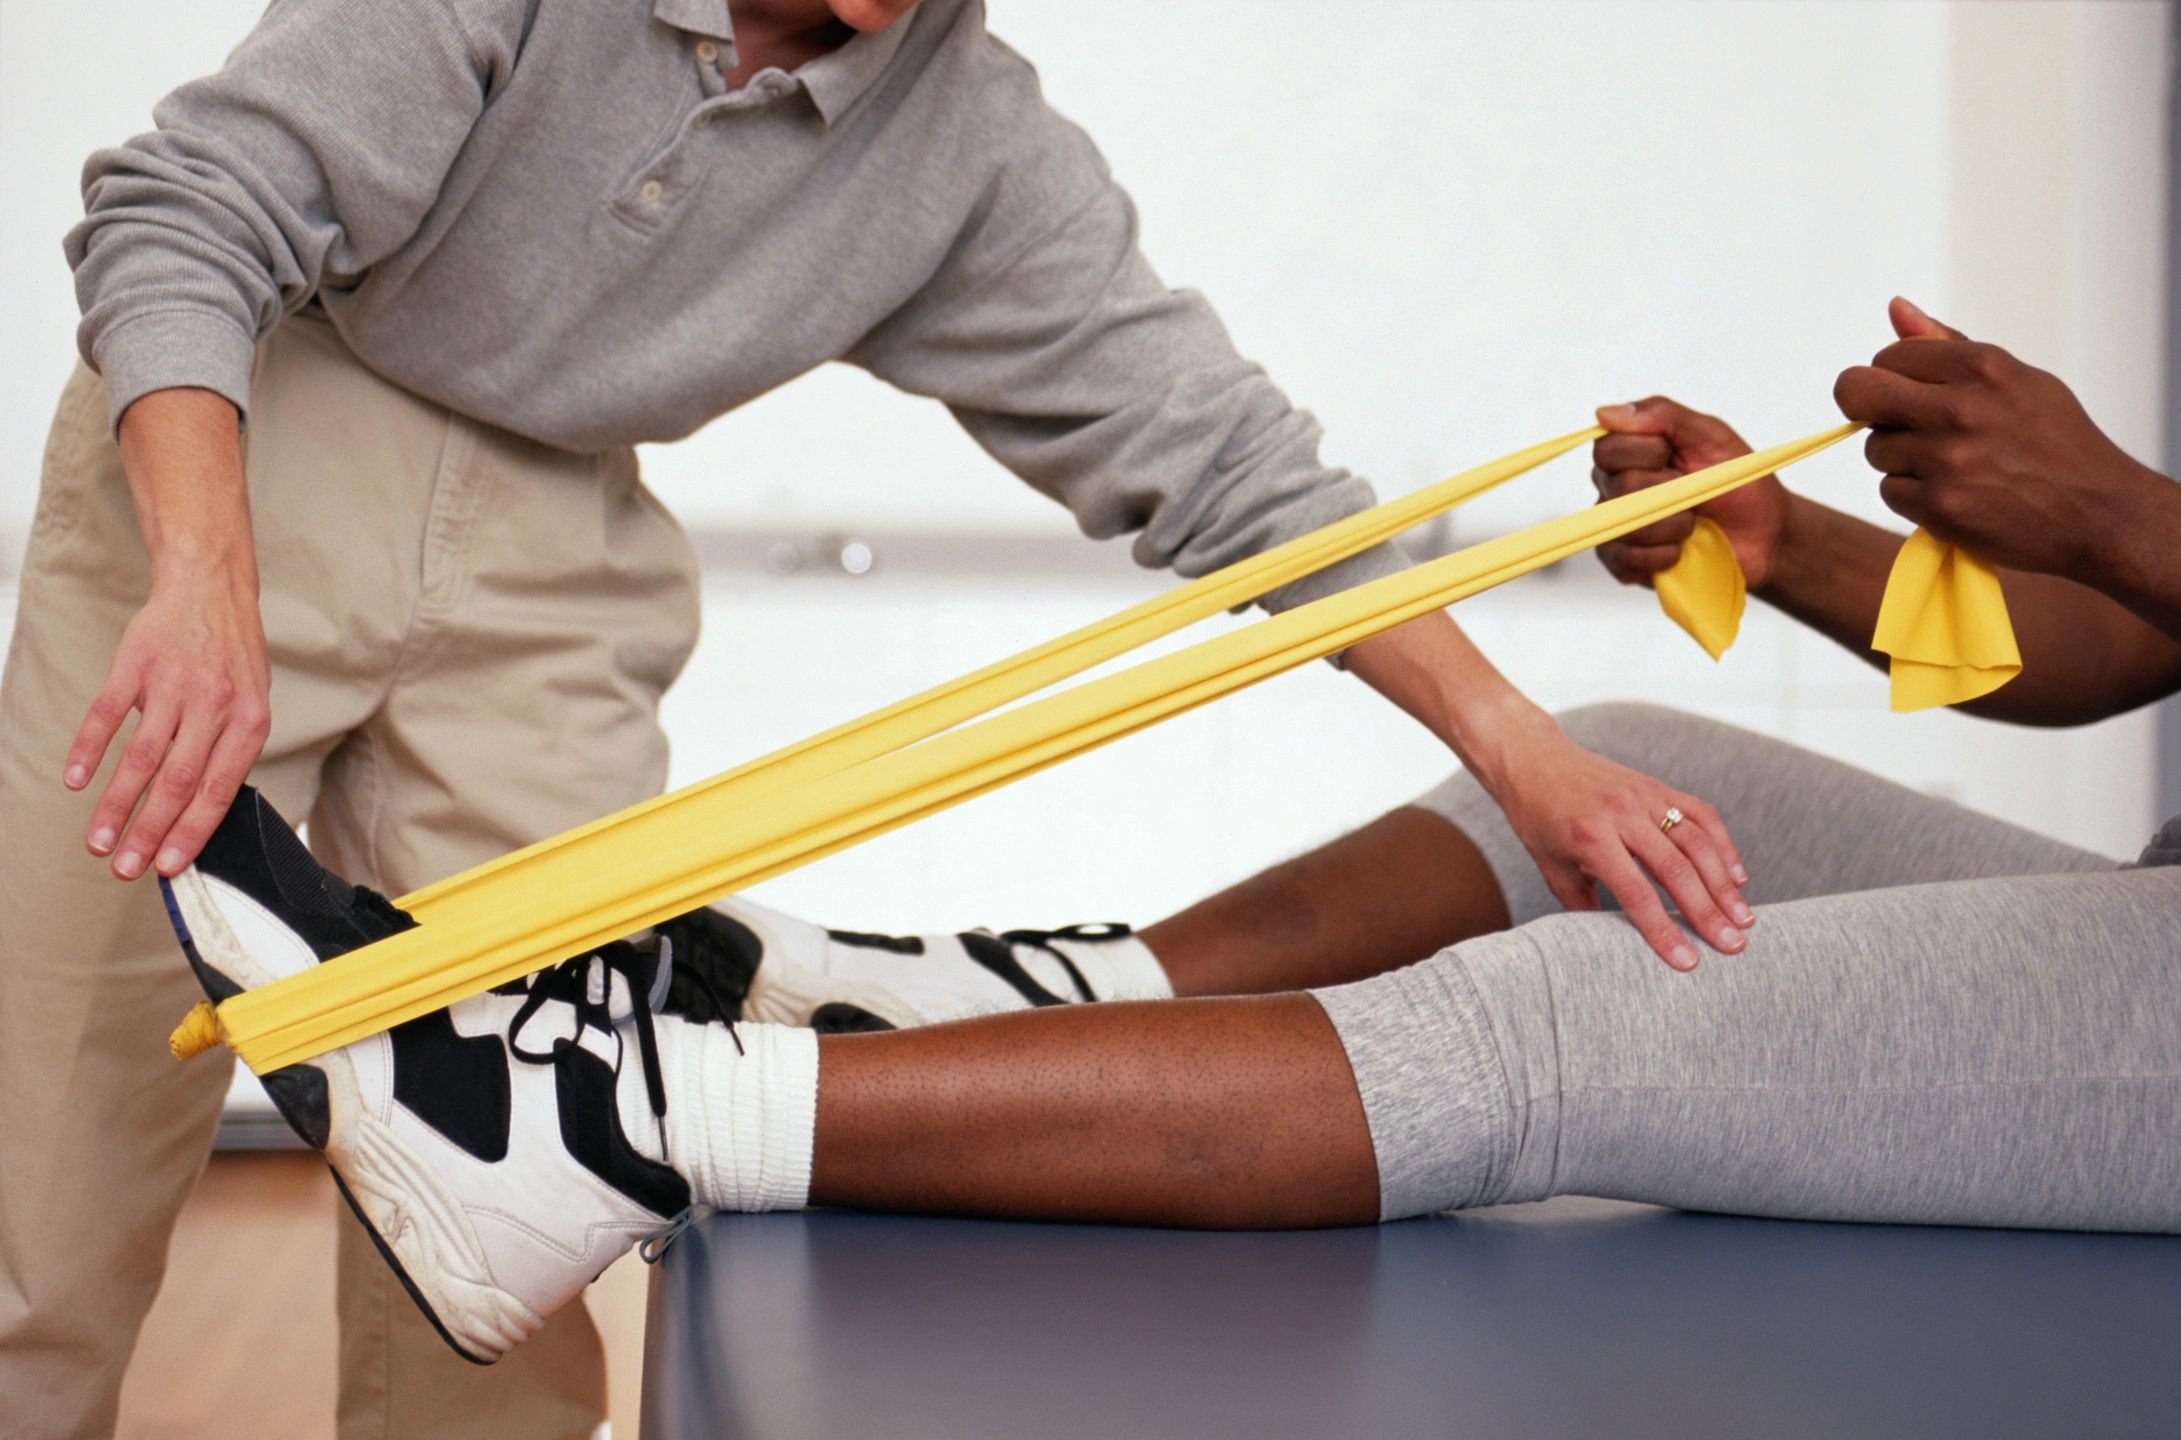
Joints and stabilizing muscles are the most injury-prone. That’s why pre-hab drills focus on bulletproofing those areas by improving mobility where tissues tend to get stuck (ie, hips) and generating stability at your weakest points. Examples of pre-hab drills include band walks for hips, wall slides for shoulders, and ankle wall rocks, for, well, your ankles.
The next step is to train smarter, so that your strength program helps you develop the sport-specific skills you want to apply outside of the gym. For a soccer player, this might include lateral lunges and plyometric drills that emphasize controlled landings so that you don’t injure your knees when pivoting during a match. For a climber, this could mean pairing pushing and pulling movements to balance your strength development so that your shoulders stay healthy.
All the preventative drills and strength training in the world is great, but can’t mitigate all risk of hurting yourself while playing the sports you love. So what happens if you do injure yourself on the mountain or the playing field? Read on to learn the best strategies to continue your strength training after an injury.
General Post-Injury Training Tips
The old adage “if it hurts, don’t do it” is a great place to start. If you take a spill skiing and land on your shoulder, maybe don’t do chest and shoulder presses for a while until the injury has time to heal. Keep in mind the above stages of injury repair and remodeling; your soft tissues require six weeks to three months before they can handle your usual activity levels.
What does that mean you can do in the intervening time? Lay off the injured area, incorporate rehab and mobility drills to speed up the strengthening process, and deload any painful movements or modify exercises that target the injured area.
Your best bet is simply changing up your routine and focusing on exercises that target your healthy muscle groups. Upper body injury? I guess you’re training legs for a while. Vice versa if you injure your knee – focus on your upper body for the time being.
For cardio after a lower-body injury, consider alternatives to traditional cardio machines, like battle ropes. Ropes provide a plethora of different movements and elevate your heart rate like you wouldn’t believe. Incorporating battle rope intervals into your training can help you maintain your cardiovascular conditioning while your legs heal.
Upper Body Injuries
The most common upper body injury is tweaking your shoulder, either from impact or overuse.
When dealing with shoulder pain, it’s best to temporarily take loaded overhead movements out of your routine while you rehab yourself. That means you’ll want to avoid military press, pull ups and pull downs, jerks and snatches, and American kettlebell swings (opt for Russian-style swings, which stop at about eye-level).
Substitute low-incline dumbbell presses if you still want to target your shoulders, and gradually increase the incline as long as the movement doesn’t provoke pain at the site of your injury. Keep loads light to moderate. Using a neutral grip (palms facing inward) for any pressing exercises can alleviate pain because it prevents inward rotation and possible impingement (pinching sensation).
Another fantastic exercise substitution for the overhead military press is a standing landmine press. The landmine is an accessory that allows you to load a barbell and pivot it in various directions. That means you can target your pressing muscles at a slight angle and avoid pressing directly overhead while your shoulder is recovering.
Finally, my favorite shoulder stability exercises is the single-arm bottoms-up kettlebell press. Hold the bell by the handle as you would in a regular press, but situate the bottom of bell upward, facing the sky as you press. Start with a fairly light weight. This isn’t about maxing out.
To perform the bottoms-up press, first squeeze the life out of the KB handle; this creates an “irradiation” effect that signals all of the muscles in your arm to turn on and fire harder, thus increasing muscle activation during the press. Perform the movement in a slow and controlled fashion – you don’t want to move quickly because the bell could rotate and smash your head. Kidding. But really, we’re trying to prevent injuries here, so be careful.
You can perform this exercise from the floor or a flat bench at first, then gradually increase the incline of the bench until you’re able to perform a traditional overhead shoulder press with the bell. Start with 2-3 sets of 10-12 reps on each arm, adding volume or increasing the bench incline each session before moving up to a heavier weight.
Back Injuries
Back injuries tend to take a lot more activities off the table, but you can still train hard with smart modifications. Favor exercises that you can perform with your back against the ground or a bench: flat or incline dumbbell presses; floor press; chest-supported rows; and any machine exercises like the leg press/curl/extension, pec deck, seated dips, and so on can all be safe and effective – as long as none of the above provokes pain at the injury site.
Apply the same concept to core work; choose exercises where your back is supported on the ground or on a bench. A great example is the “dead bug” exercise, demonstrated in the video above.
Press your back flat to the floor and extend the right arm and left leg (then vice versa) at the same time while keeping your abs engaged. Your back shouldn’t arch off the ground; if it does, you’ve lost core engagement and should modify the exercise so you can keep your back flat.
The opposite-limb movement pattern of the deadbug provides an anti-rotational challenge to your core while keeping your back safe. You can load the exercise with resistance bands if the traditional dead bug is too easy for you.
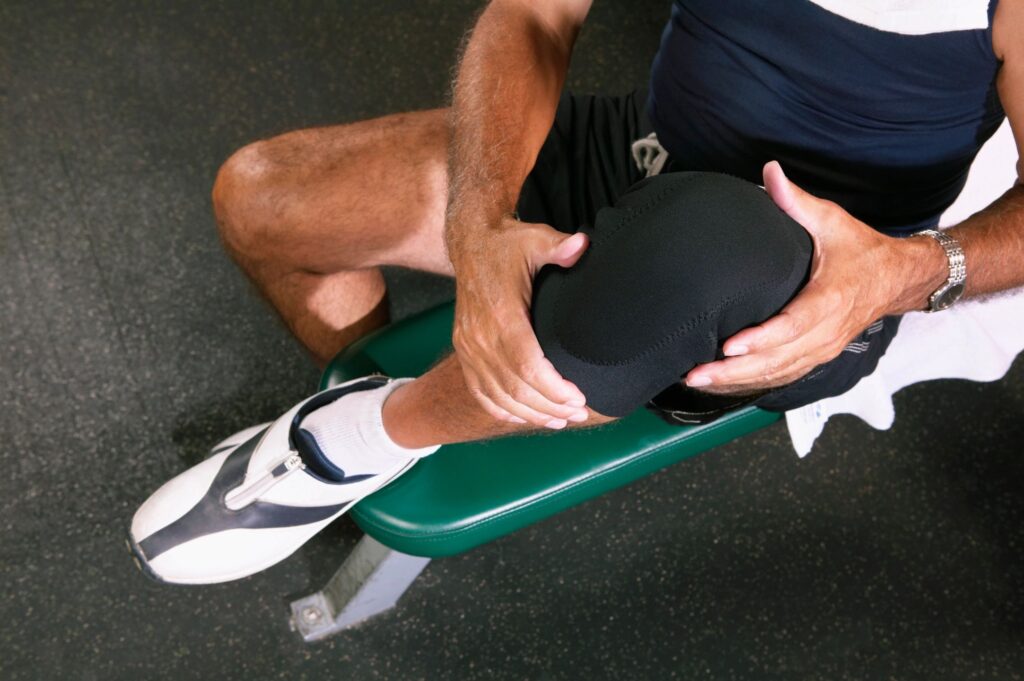
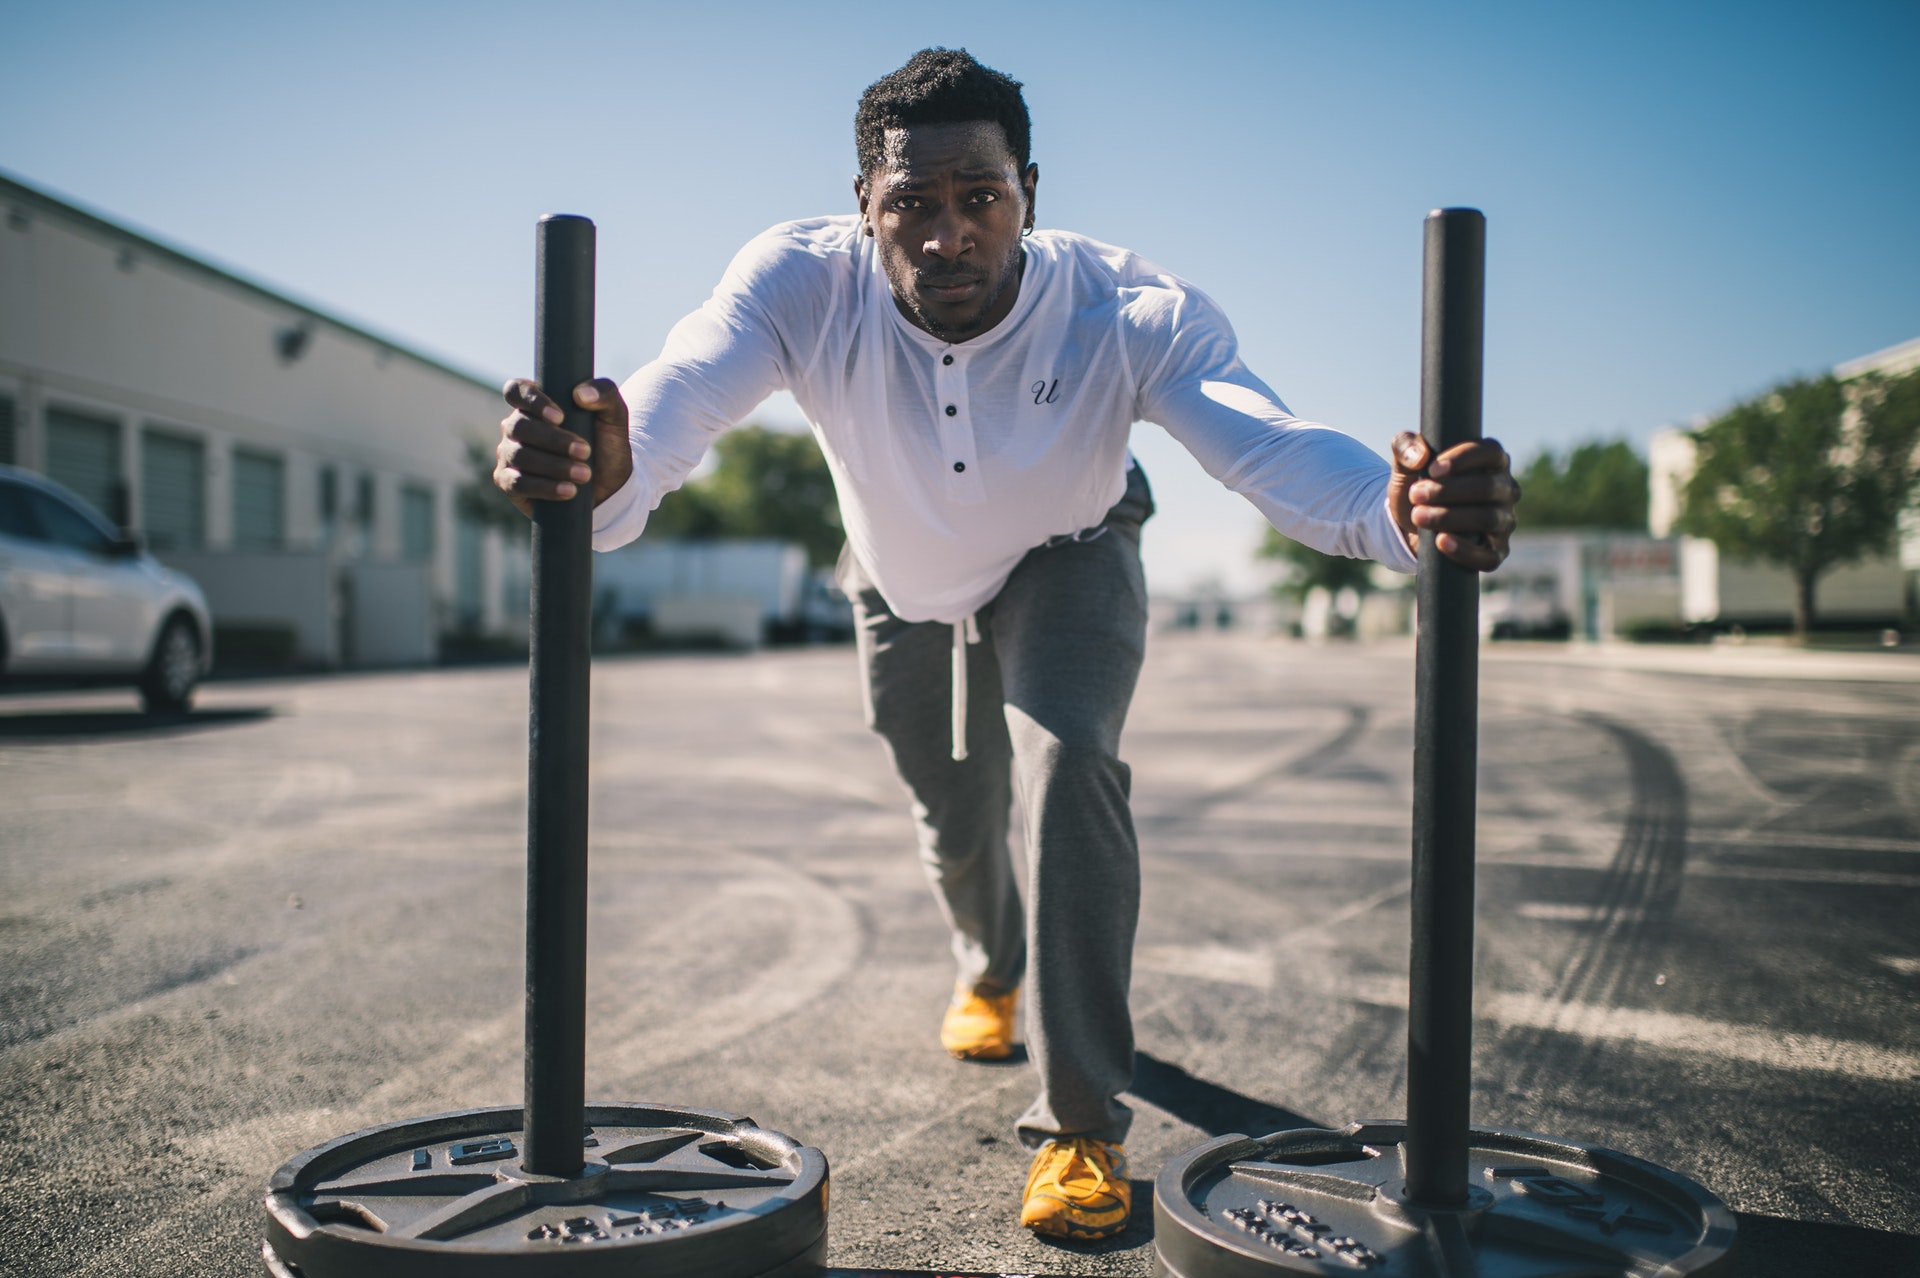
Lower Body Injuries
Hips, knees, and ankles take a beating on the mountain and on the court or field. Start by giving them some love with pre-hab techniques like self-myofascial release (aka, foam rolling) and mobility drills that open your hips and ankles.
My favorite lower-body mobility drill is the 90-90 hip internal and external rotation drill. There are hundreds of variations of this drill you can incorporate into your warm up routine to help open your hips.
Start by getting “comfortable” (this is a relative term, as I’ve yet to actually feel comfortable sitting at 90-90) in the seated position. You can add a transition to the simple seated stretch by rotating from your left to your right side, as shown in the video below.
The best bang-for-buck stabilization exercise is the humble mini-band walk. This will light up your gluteus medius, a hip muscle responsible for stabilizing your knees as you walk and run. I use this as part of my own warm up and with all of my training clients before we do any leg workouts to ensure their knees stay healthy and pain-free.
When you’re working through a lower body injury, there are plenty of modifications you can make to still train your legs. Here are some ideas to get you started.
- Cardio: the bike is often the best choice, since it’s low-impact. If even that is too much, take legs out of the equation entirely by substituting battle ropes.
- Squats: de-load heavy barbell squats or use a box to limit your range of motion; consider using a kettlebell goblet squat instead if the barbell provokes pain, or taking squatting off the table entirely for a time.
- Lunges: perform reverse lunges to reduce shear forces on the kneecap, or substitute step ups instead.
- Deadlifts: the barbell hip thrust is a great alternative to train your posterior chain if your hips are cranky when deadlifting. Alternately, use a hex/trap bar if your gym has one; loading the hinge from the sides instead of in front of your body changes the exercise mechanics just enough that you may tolerate it better while your injury heals.
Post-Injury Training Plan
My favorite method for incorporating otherwise boring pre-hab drills into an awesome strength workout is supersetting mobility drills with a heavy strength exercise.
In traditional strength training, you lift around 70-95% of your 1RM and rest for 2-3+ minutes following each set. That eats up a lot of time. Adding a long-winded warm up with dozens of mobility and activation drills only increases the time you have to dedicate to training. But supersetting a mobility drill after a strength exercise can help you cut your workout time nearly in half.
Here are examples for both upper and lower body injuries so you can see what I mean.
Let’s say an athlete has an injured shoulder, so they’re focusing on legs and core in their training. Today’s workout calls for five shoulder rehabilitation drills and 4×6 hex-bar deadlifts. The shoulder drills could take ten minutes or more, in addition to warming up the posterior chain (glutes and hamstrings) for the heavy hex deadlifts. By the time the athlete starts their strength work, they’ve been in the gym for twenty (mostly) boring minutes. They still need to do a couple warm-up sets of deadlifts before hitting their four working sets. That’s a long-ass workout.
A better alternative would be to start with their usual deadlift warm up to activate the posterior chain muscles they’re about to train – say, five minutes of dynamic mobility drills. Then, while doing those light warm-up deadlift sets, they start their first shoulder rehabilitation drill. During the four heavy working sets of deadlifts, they spend 90 seconds on each of the other four shoulder rehab drills.
This is the perfect, time-efficient combination because the rehab drills are low-intensity and don’t compromise recovery for the subsequent deadlift sets, and the deadlifts won’t interfere with their shoulder injury. The entire workout utilizing supersets can be done in about thirty minutes.
Let’s say another athlete has a knee injury. They’re skipping leg day for about six weeks while their knee recuperates and decided to bench press 5×3 today. After their usual bench warm up to prep the chest and shoulders for pressing, they start their heavy working sets. In between these sets, they’d normally rest for 3 minutes. That’s 15 minutes of doing nothing, when they could be doing soft tissue and mobility work that will improve their knee pain.
So, instead of sitting on the bench while checking Instagram, the smart athlete gets down on the floor and does quad and IT Band foam rolling, active stretching, and other drills their physical therapist recommended to them. They’re in and out of the gym in under 40 minutes, guaranteed, and farther on the road to recovery than they would have been otherwise.
 Which method would you prefer?
(A) Training around your injury by ignoring it until it goes away on it’s own;
(B) Wasting an hour before and after your workout doing a dozen boring activation drills;
(C) Supersetting the boring stuff with the strength exercises you want to do anyway.
Yeah, there’s no contest. Final answer, C, any damn day of the year. Get into the gym, get strong, get back out into the real world. Don’t baby your injury with an hour of foam rolling or other ineffective tactics. Just get it done so you can get back in the mountains or on the field.
The Mental Aspect of Athletic Injuries
 The most important aspect of training around an injury is the game between your ears. Focus on what you CAN do in the gym, not on what you can’t do. With a little creativity, you can still train for strength and athleticism without aggravating your injury. And, by training the rest of your body, you’re guaranteed to come back from your injury stronger than when you started.
I know it’s challenging and frustrating to feel like you’re sidelined by a painful injury. I’ve been there dozens of times and seen my coaching clients struggle emotionally with “taking it easy.” But as hard as it is, remember that you’re in this for the long haul. There’s nothing worse than exacerbating a not-so-bad injury by refusing to pump the breaks for a short time.
Focus on what you CAN do and channel that frustration you feel into getting stronger at all other areas of your game so you can conquer the world again once you’re back to full health.