Let’s be real here. Unless you have a badass gym setup at home, your home workouts likely won’t be as “good” or as satisfying as working out at a fully-equipped gym.
But that doesn’t mean you’re doomed to shitty workouts for the rest of the pandemic. Here are my top tips to make the most of your home workouts, starting with the best workout equipment to invest in for your home gym.
Essential Equipment Recommendations
While it would be nice to have a fully-equipped garage gym, you don’t need to spend a small fortune on a bunch of machines and a full set of weights. You can put together a decent home gym and get effective workouts with much less equipment.
Prepare to spend $100-300 on basic equipment. (That’s roughly 7.5 months of what you’d spend on a $40 gym membership.)
I’ve put together a shopping list at various price points, depending on your space/budget concerns.
“Must-haves”/space-saver
✅ Jump rope for cardio/conditioning
✅ Stackable resistance bands (with carabiners)
✅ A heavy set of dumbbells OR a single heavy kettlebell OR a heavy sandbag for squats, deadlifts, and swings
For women, I’d go no lighter than a 20-25 lb kettlebell. For men, 30-35 lbs, minimum.
You can get all of the above for ~$100-150, depending on equipment availability in your area.
“Nice-to-haves”
✅ Stability ball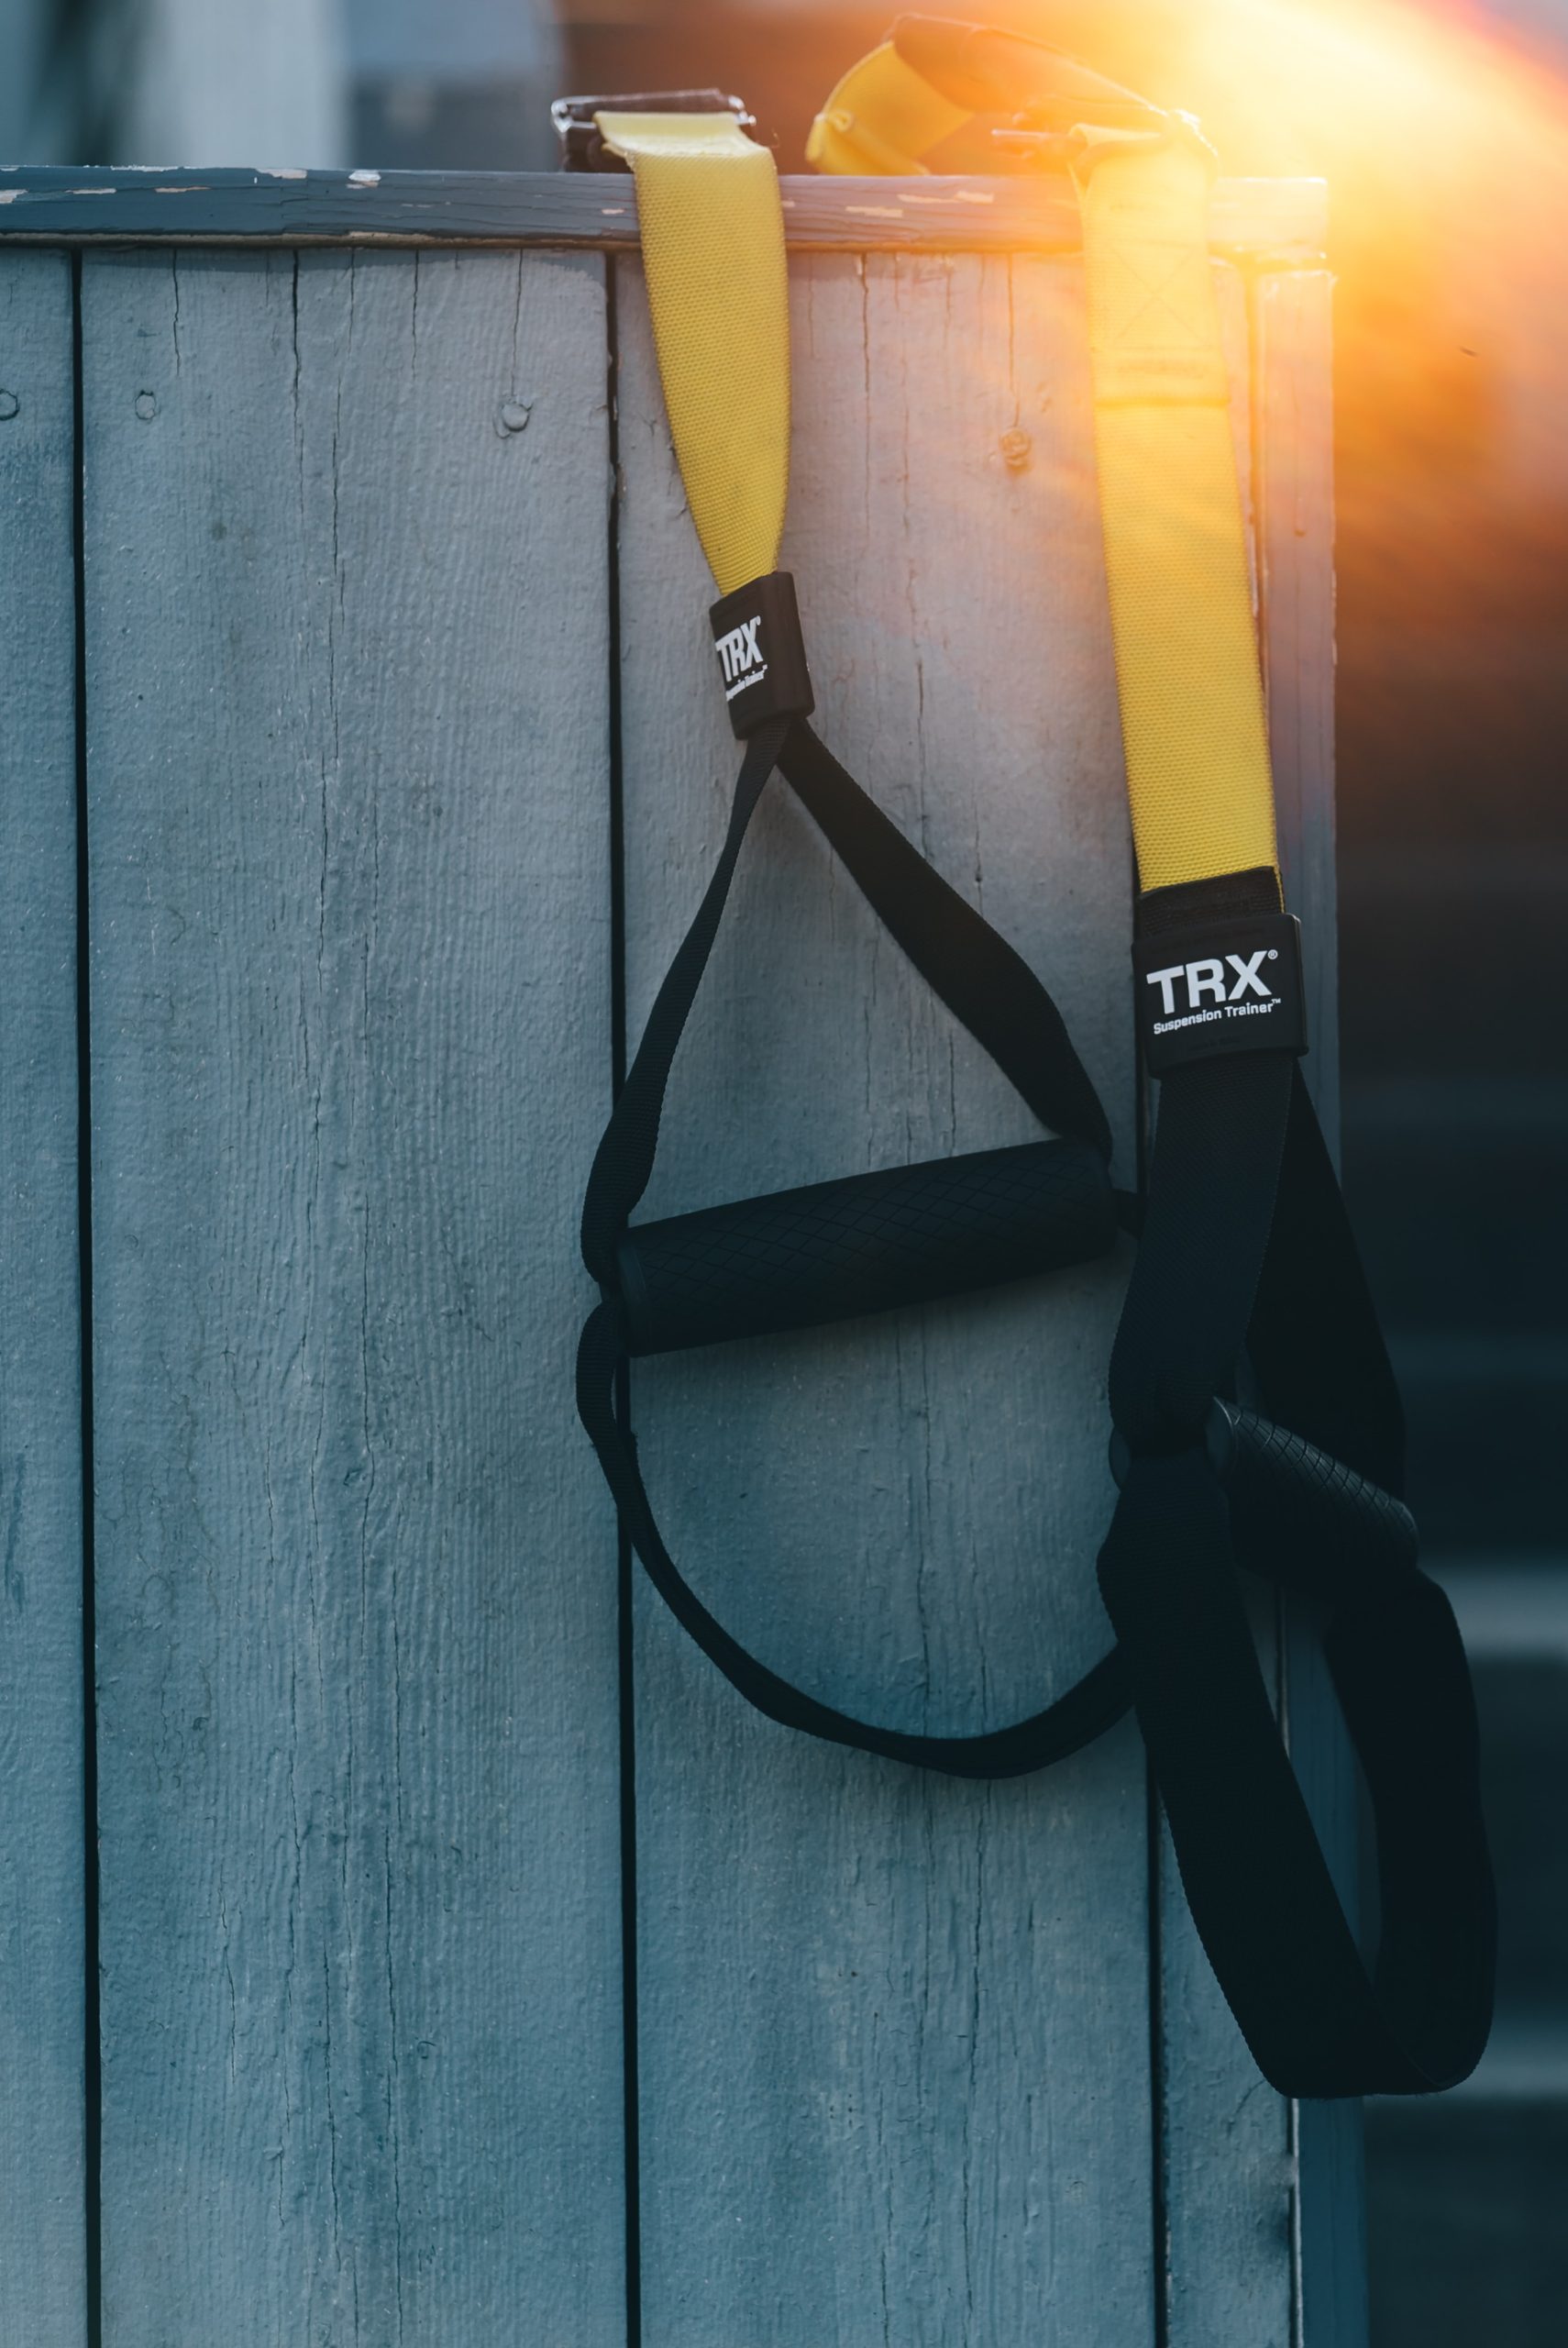
✅ Foam roller or other mobility tool
✅ Yoga mat or large rubber floor mat
✅ Doorway pull up bar
✅ Heavy-duty (“monster”) resistance bands
✅ Suspension trainer (TRX or similar)
✅ Furniture sliders for core, hamstrings, slide lunges, etc.
✅ A set of light weights for upper body AND set of heavy weights for legs (dumbbells or kettlebells)
This list will run you an additional $100-400 depending mainly on the weights (how heavy and whether you buy new or used).
“Really nice to have”/space isn’t an issue
✅ An adjustable dumbbell set (Powerblock, etc) OR sets of light, medium, and heavy DB/KBs for a range of exercises
✅ A piece of cardio equipment (bike, rower, etc)
Adjustable dumbbells are really nice, but they can also be pricey. The cheapest I’ve found are a 5-55 lb set from Nordictrack ($350 in-store at Dick’s Sporting Goods). Other sets can run from $500-700 depending on the brand and the weight range.
Alternately, you can buy dumbbell handles with spin locks and plastic-coated plates. It takes a minute to adjust the weight between exercises, but they’re much more affordable.
Badass Basement/Garage Gym
? Squat rack
? Bench (incline bench, if possible)
? Barbell + plates
? Plyo box
? Medicine balls or slam balls
? Adjustable dumbbells or wide range of DB weights
? Kettlebells ranging from 15-18 lbs up to 55 lbs
At this tier, you’re looking at $1000s, not $100s invested, but if you love to workout and don’t want to rely on the gym, consider the ROI you’ll get by saving on gym membership dues over the years.
Even if your equipment is limited, you can still get killer workouts at home with the following tips.
7 tips for better home workouts
1. Minimize rest periods.
Lighter weights inherently mean lower training intensity. Lower intensity requires less rest. To make the most of your light weights, rest less.
If you’d normally rest 60-90 seconds between sets of heavy squats or deadlifts or whatever, cut that rest to 30-45 seconds.
I usually train with “straight sets” or “supersets” in the gym (where you do 1 exercise or 2 exercises, then rest and repeat once recovered). At home, circuits where you do 3-5 exercises back-to-back without resting until you’ve done all the exercises are a more efficient plan.
2. Use time sets and timed workouts.
AMRAP workouts (“as many rounds/reps possible”) challenge you to do as much work as you possibly can in a short period of time, usually less than 20 minutes. This leads to high training “density” by packing lots of reps into a certain time limit. Higher training density is great for both fat loss and muscle growth.
3. Lift with tempo.
Your muscles don’t know how much weight you’re lifting; they only respond to time under tension. Lifting with tempo increases time under tension.
Tempo is written as the time it takes to lower the weight, the time you pause in the bottom position, how long it takes you to lift the weight, and how long you pause at the top.
For a top-down movement like squats and bench press, a 2-0-2-0 tempo would look like two seconds of lowering the weight, no pause, two seconds to stand up or press the weight up, and no pause at the top before starting the next rep. For bottoms-up movements like deadlifts or curls, you’d still lift and lower for 2 seconds each, but you’d start by reading the third number (I know, slightly confusing).
In any event, each 2-0-2-0 rep will take 4 seconds to complete. When you’re stuck lifting lighter weights than you’re used to, increase this to something like 3-1-3-1 (twice as long).
4. Pauses and isometrics.
This follows from the previous tip.
Adding a pause to exercises makes them harder for two reasons: increasing time under tension, and it’s harder to accelerate a weight from a full stop.
Take a squat, for example. If you take 3 sec to sit down, the pause 3 sec at the bottom, you now have to stand back up from 0 mph – no chance of using that little bounce of momentum to help you out of the bottom position.
Try it and see for yourself: 3 sets of 8-12 reps with 3-3-X-0 tempo (the “X” means to stand explosively).
Isometrics follow a similar principle.
Let’s say you usually curl 15 or 25 lbs, but the heaviest weight you have at home is 10 lbs. Hold one weight at 90* while you curl the other weight slowly. The arm holding the weight isometrically will probably feel like it’s working harder than the arm that’s moving. Switch and repeat.
5. Try “giant” sets for muscle growth.
A giant set is where you do 3+ exercises for the same muscle group back-to-back. This will really burn out your muscles, even with light weights.
For example, for chest you might do a set of 12-15 DB chest flys, followed by 12-15 push ups, followed again by 12-15 DB presses.
For legs, maybe it’s split squats, goblet squats, and lunges.
That’s 36-45 reps, all targeting the same muscle! Better believe you’ll be feeling “the burn” by the end of the set, so you know you’re stimulating muscle growth.
6. Use gravity to your advantage.
Push ups with your hands elevated are easier than push ups from the floor, and push ups with your feet elevated are harder, right?
So, start with the technically hardest exercise for as many reps possible, minus three (leave 2-3 RIR/reps in reserve). Proceed to the medium difficulty exercise and do as many possible, minus 1-2 RIR. End with the mechanically easiest exercise for as many reps possible.
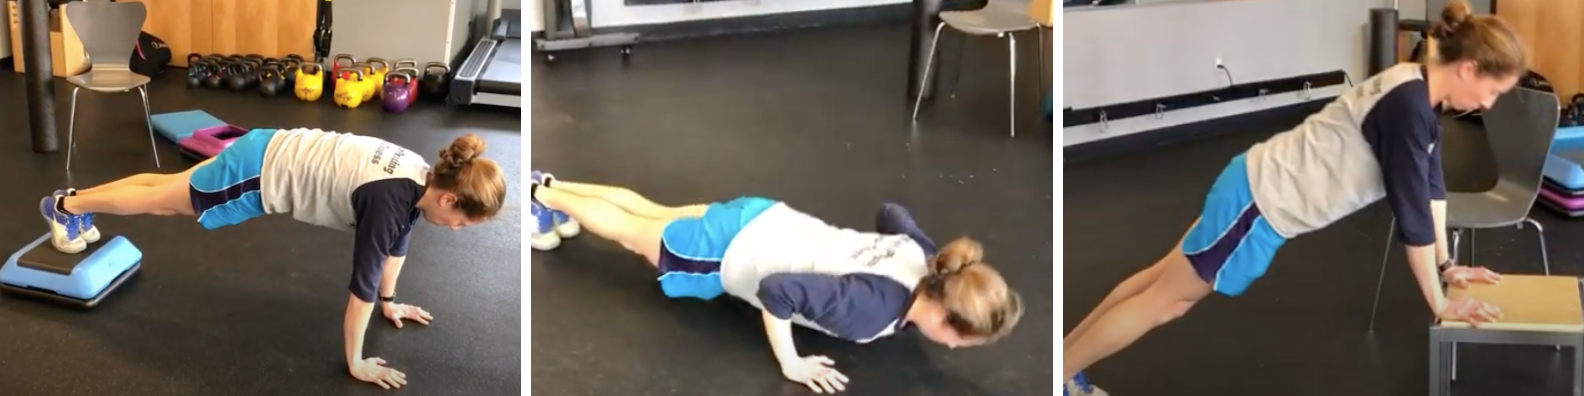
How it looks in practice: feet-elevated push ups x14 (felt like I could do 16 or 17); floor push ups x13 (felt like I’d be limited to 15 from fatigue); hands-elevated push ups x18 (would have failed on rep 19).
The same principle applies to pull ups: wide grip > regular grip > chin up.
You can do this with bridges for glutes/hamstrings, too: max single-leg hip thrusts with 2-3 RIR… max hip thrusts with 1-2 RIR… max single-leg bridges on the floor… max bridges to finish.
Whatever the exercise, the formula is the same: go from technically hardest to technically easiest exercise.
7. Use plyometrics to improve strength.
Plyometric, or explosive, exercises “prime” your muscles. Following up a plyo exercise with a mechanically similar strength exercise improves the outcome of the strength exercise because your central nervous system is ready to use your muscle fibers more efficiently.
For instance, a plyo push up or clap push up, paired with push ups or chest presses. Or a jump squat paired with a goblet squat. Or a broad jump paired with a deadlift. You get the idea.
Not only will plyos fire up your muscles, they help improve athleticism by improving reaction time and force production. This means you’ll be able to move faster and more powerfully on the mountain or while playing sports. Win-win.